Users who create, manage or analyse geospatial data and territorial information are aware of the importance of data attached to graphic elements. This information allows you to jump from simple cartographic plans to a data set that reflects real-world objects. Whether surveyor, civil engineer, landscape architect, facilities engineer or urban planner, the new ‘Spatial Manager’ Data Grid for CAD will become an essential tool for you
Related videos: AutoCAD / BricsCAD / ZWCAD

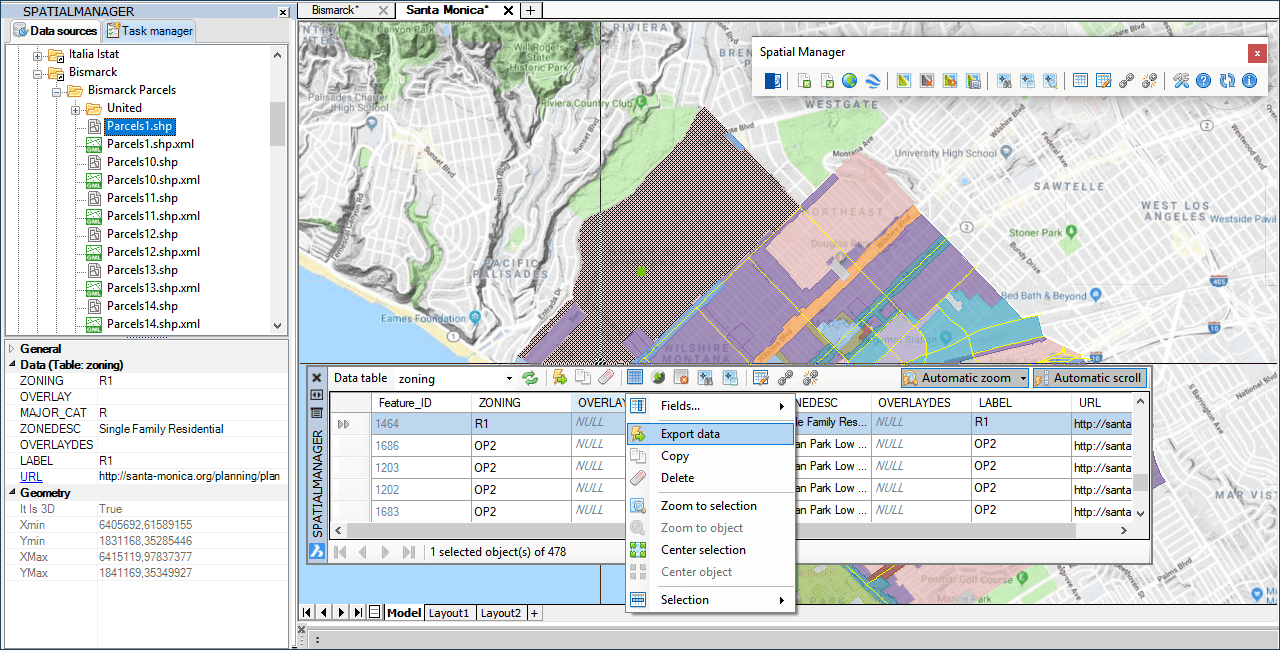
‘Spatial Manager’ Data Grid palette
As you will see in the videos above, you will find in the ‘Data Grid’ multiple functionalities summarized below:
‘Data Grid’ layout and overall organization
- The ‘Data Grid’ works in multi-table environment. Use the drop-down list to select a Table
- Select which table fields you want to display by right-clicking in the ‘Data Grid’
-
Move the field separation lines in the table header to change the width of the columns
- Double clicking over the lines will automatically adjust the corresponding column width
-
Tooltips to display the content of a cell or header that does not fit
- Header tooltips will show information about the properties of the field
- Clicking on the header will sort the values of a column in increasing or decreasing order
- Drag the field names in the table header in order to sort the fields (columns) in the table
- The ‘Data Grid’ palette can be arranged, docked, undocked, self-collapsed, resized, etc.
The ‘Data Grid’ is automatically synchronized with the current drawing
- Select objects indifferently in the drawing as in the Grid
- You can use the CTRL and SHIFT keys (alone or in combination)
- “Automatic scroll” option will show you the drawing selected objects in the Grid
-
“Automatic zoom” option will adjust the drawing view to the selected objects extent
- “Zoom to selection” and “Zoom to object” (right-click menu) to do it by hand
-
“Automatic centering” option will center the selected objects on the display
- “Center selection” and “Center object” (right-click menu) to do it by hand
- On the Grid rows, you can also use the keyboard (Up, Down, CTRL+Up, Space, etc.)
- Advanced selection and delete buttons (top of the palette / right-click menu)
- Information about number of selected and total objects in the palette lower left area
Edit data values straightforward in the ‘Data Grid’
Just as you could edit object data in the “Properties” area of the application’s main palette, you can now do so indistinctly in the Grid
-
To edit the value in a cell, simply double-click on the cell
- You can also click or press ENTER on the “active” cell to edit its value
- To finish the edition, press the ENTER key or the TAB key
- To cancel editing, press the ESC key
- CTRL+ENTER will assign the edited value to all cells in the same column for all selected rows
- SHIFT+ENTER will assign the edited value to all cells in the same column for all rows
Export the data
-
Use Export functionality (top area / right-click menu) in order to create an ASCII file
- This file will be in an appropriate format to open it with Excel, Access, CSV, etc.
- You will be able to export the data in the whole table or in the selected rows only
- You can include the field names, choose the field delimiter and the file extension
-
Alternatively copy the table information to the Windows Clipboard by using “Copy”
- Use the buttons set on top of the palette, right-click menu or press CTRL+C
- Selected rows and field names will be copied to the Clipboard in a tab-separated format
- The format will also be suitable for pasting into a spreadsheet, ASCII editor, etc.
- As an exception, when a field is being edited, only the value of this field will be copied
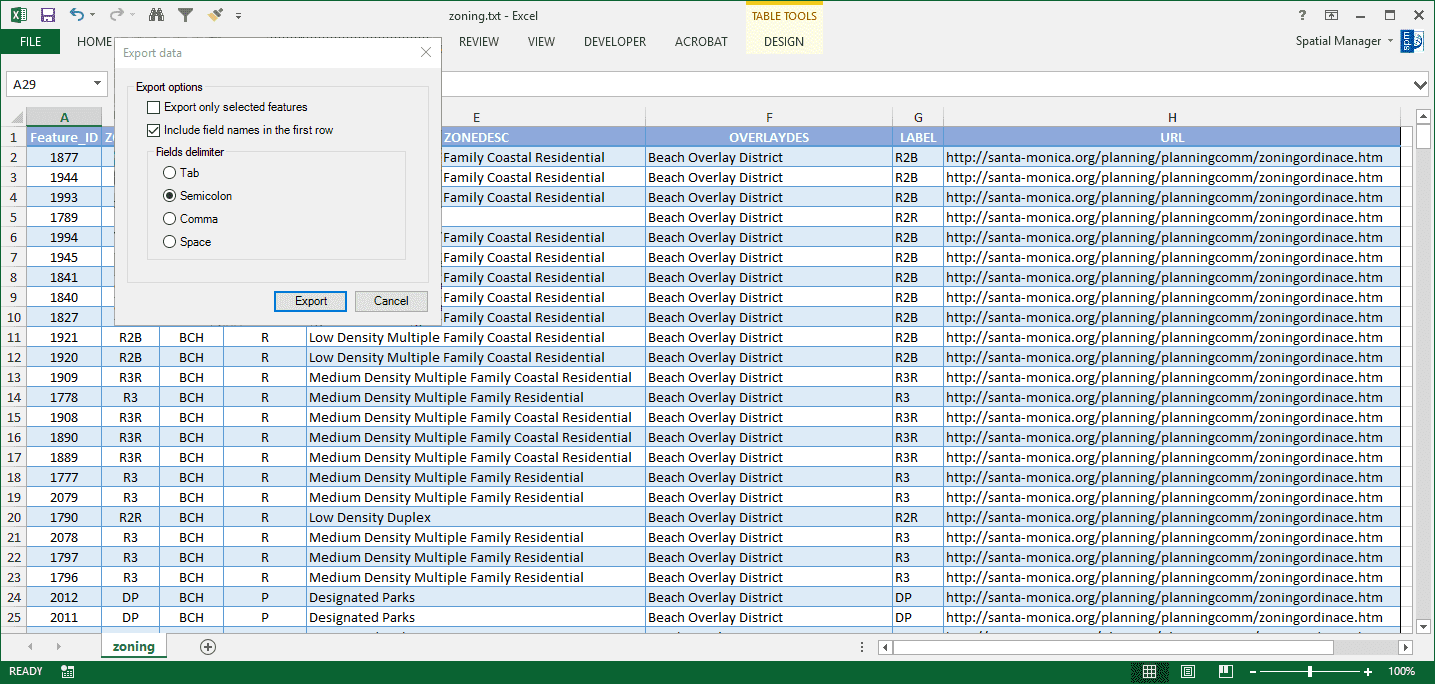
Exporting from ‘Data Grid’ to Excel, Access, CSV, etc.
Access other Table functions
From the buttons set on top of the palette you can access the main Table management commands: Select by query, Select by table, Define (or Edit) table, Attach data or Detach from table
Access to these general ‘Spatial Manager’ commands from here avoids duplication of functions. So, for example, if you want to execute a query in order to select only the rows (and corresponding objects in the drawing) that meet a certain search criterion, just run “Select by query”. Or if, for example, you want to rename or delete Fields, run “Define table”
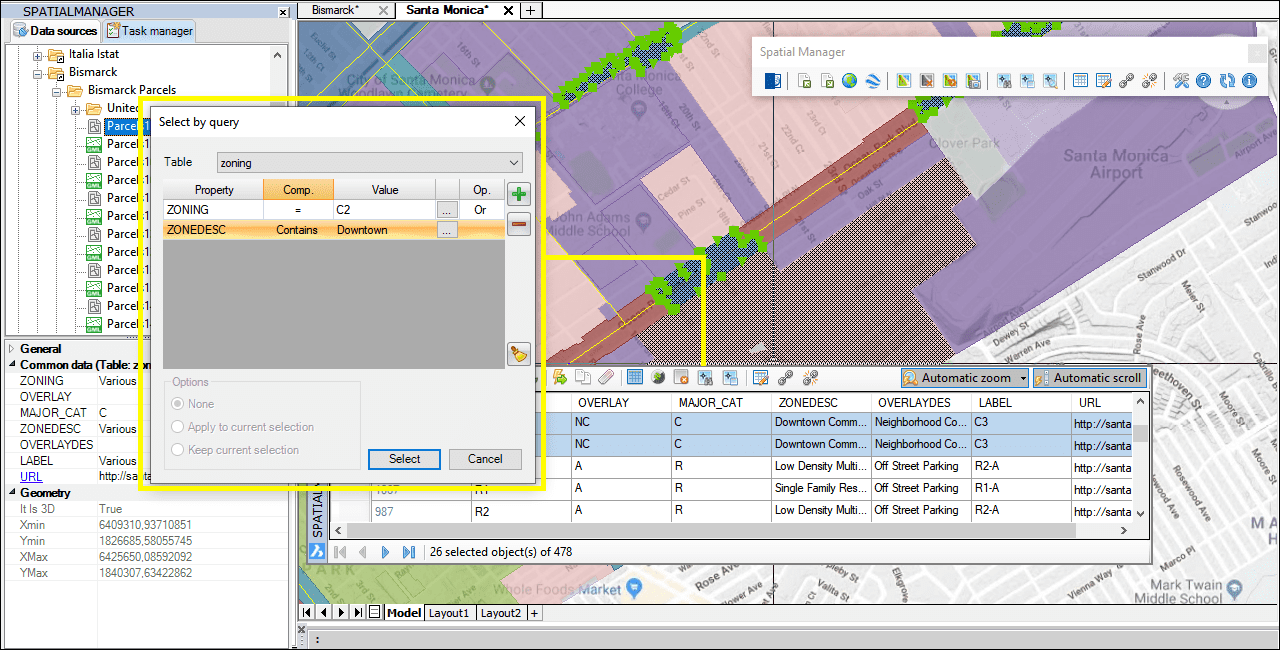
‘Data Grid’ queries
A couple of notes from the Technical Wikis:
Availability note: The ‘Data Grid’ palette in the ‘Spatial Manager’ CAD versions (AutoCAD, BricsCAD or ZWCAD) is available in the “Professional” edition only. The ‘Data Grid’ is available in all editions of ‘Spatial Manager Desktop’
Learn more about the ‘Data Grid’:


